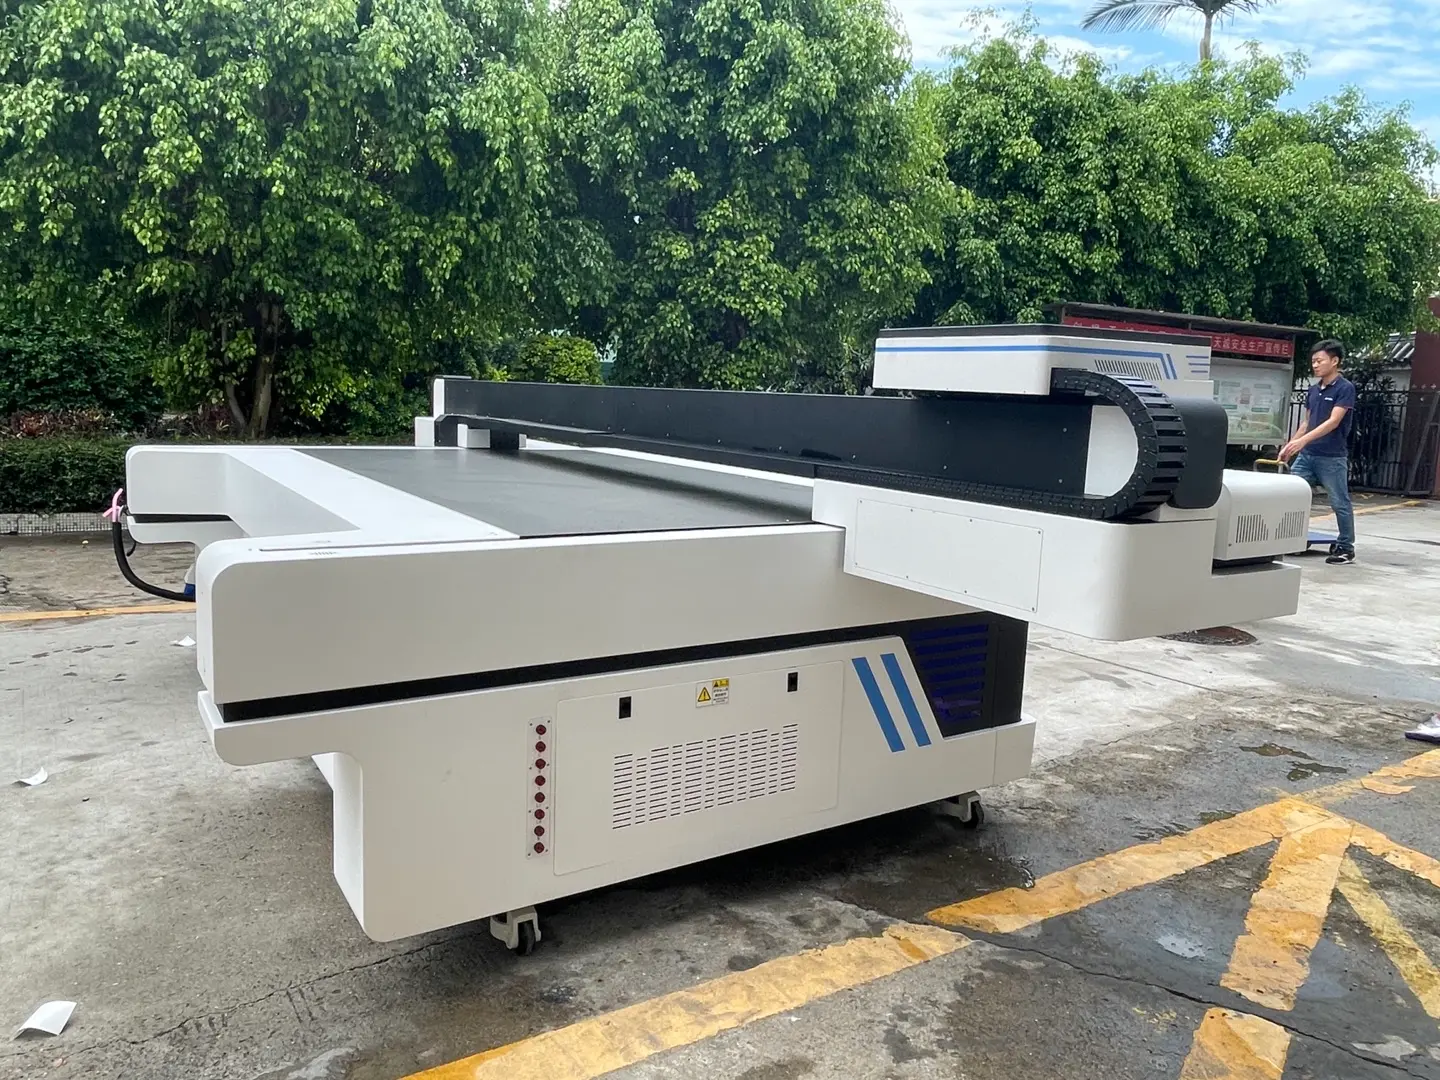
A plastic cup printing machine should be selected around the cup and the production job, not around the highest speed shown in a brochure. Order size, artwork frequency, cup resin, transparency, taper, wall rigidity, print coverage, white-ink demand, and loading method can all change which process makes economic and technical sense.

For full-color graphics, frequent artwork changes, samples, personalized cups, and mixed short-to-medium jobs, direct UV digital printing is often the first process to evaluate. Very long repeat runs with stable artwork may favor dry-offset printing. Screen printing remains practical for repeat spot-color work, while pad printing is better suited to small logos or restricted print areas. Buyers evaluating direct-to-object equipment can begin with the cylindrical UV printer range and then test the actual cup before making a machine decision.
The non-negotiable rule is simple: a machine that can place ink on a cup has not automatically proven that the print will meet adhesion, appearance, durability, and production-output requirements. Use cups from the intended supplier and, where possible, more than one production batch.
Quick Plastic Cup Printer Selection Summary

| Printing method | Typical job logic | Plate or screen required | Artwork changeover | Full color and gradients | White ink | Taper considerations | Typical application |
|---|---|---|---|---|---|---|---|
| UV digital cylindrical printing | Mixed orders, changing artwork, variable run lengths | No physical printing plate | Usually file and setup driven | Strong fit | Available on suitable ink configurations | Machine, software, print gap, and fixture must support the cup | Full-color branded cups, samples, multiple SKUs, personalization |
| Dry-offset printing | Consistently high-volume repeat production | Yes | Plate, color, and registration setup | Capable, but process and color setup differ from digital inkjet | Depends on the press and ink process | Cup geometry must match the press and tooling | Large repeat orders with stable artwork |
| Screen printing | Repeat jobs with limited spot colors | Screen required | New screens and registration may be needed | Not the first choice for photographic gradients | Process-specific | Requires suitable rotary control and screen setup | Solid logos and repeat decorative graphics |
| Pad printing | Small localized print areas | Plate and pad required | Tooling and plate change | Limited compared with digital full-wrap printing | Process-specific | Flexible pad can reach some curved areas | Small logos, marks, symbols, restricted print zones |
| Transfer or decal process | Specially prepared decorative workflows | Carrier, film, decal, or transfer system may be required | Artwork is prepared in the transfer workflow | Depends on the transfer technology | Depends on the image construction | Depends on cup coating, geometry, heat, and pressure limits | Coated or purpose-prepared products |
- Choose UV digital first when artwork changes frequently, full-color images or gradients are required, transparent or dark cups need a controlled white layer, order sizes vary, or personalization is part of the business model.
- Consider dry offset when the artwork remains stable, volumes are consistently high, and setup cost can be spread over long repeat runs. Consider screen printing for repeat spot-color designs that justify screen preparation. Consider pad printing when the print area is small and a full wrap is unnecessary.
What Is a Plastic Cup Printing Machine?

The term describes equipment that applies logos, decorative graphics, product information, or promotional artwork to the outer surface of a plastic cup. The image may be printed directly onto the cup or transferred through a plate, blanket, screen, silicone pad, film, or other carrier.
In a direct-to-object UV system, the cup is held and rotated while inkjet printheads deposit controlled droplets. UV-LED curing then solidifies the ink layer as part of the printing sequence. A purpose-built UV cup printing machine must coordinate cup rotation, printhead movement, image data, ink sequence, and curing. On tapered products, image compensation and print-gap control become especially important.
Traditional cup printing systems use physical plates or screens. Once a long repeat job is prepared, those processes can be highly productive. Their economic disadvantage appears when artwork changes often, because prepress work, registration, tooling, and cleanup consume time before the next sellable cup is produced.
Which Plastic Cup Printing Process Should You Choose?
UV Digital Cylindrical Printing
Digital UV printing is most valuable when flexibility has a measurable production value. A factory running 20 cup designs in a week has a different problem from a factory running one design for several months. Eliminating a physical plate does not eliminate setup, but it changes setup from a plate-making problem into a file, fixture, pretreatment, print-mode, and color-control problem.
CMYK can reproduce full-color artwork and gradients. White ink can be used as an underbase beneath color, as selective white, or as a separate design element. Varnish may be used for gloss contrast or selected decorative effects when the printer and ink system support the required sequence. Buyers comparing equipment should review the direct-to-object architecture, rotary control, supported ink sequence, fixture design, and application-test workflow as one production system.
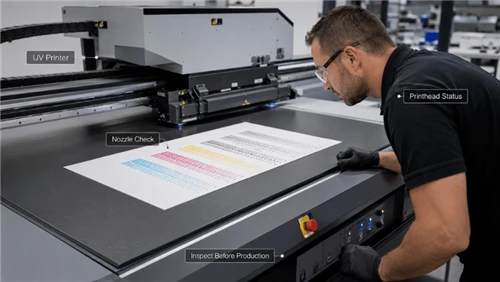
The main mistake is to assume that digital means every job is automatically economical. A design with heavy white coverage, color, and varnish may use more print passes or a slower quality mode than a low-coverage CMYK design. Loading, pretreatment, cup orientation, nozzle checks, and changeovers still affect net output.
Dry-Offset Printing
Dry offset is built around a different production logic. The artwork is prepared through plates, and the image is transferred through an intermediate blanket before reaching the cup. Once the press is set, long repeat runs can spread plate preparation and setup over a large number of cups.
For buyers, the important questions are not simply "Is offset faster?" or "Is digital more flexible?" The better question is how many sellable cups of one design will be produced before the artwork changes. Multi-color registration, plate and blanket condition, setup waste, color adjustment, and changeover time all belong in the comparison. There is no universal order quantity at which dry offset becomes cheaper because labor, equipment utilization, ink coverage, scrap, and local operating cost vary by factory.
Screen Printing
Screen printing remains useful when designs use a small number of solid colors and repeat regularly. It can provide strong spot-color coverage, but each color may require its own screen and accurate registration. If a customer repeatedly orders a one- or two-color logo, screen preparation may be justified. If every order contains different photographic artwork, the same workflow becomes less attractive.
Pad Printing
Pad printing uses a flexible silicone pad to transfer an image from an etched plate to the object. Its advantage is access to small or restricted print zones, including some curved or irregular areas. It is not normally selected for long, visually seamless, full-wrap cup graphics.
Transfer and Decal Methods
Transfer is not one single process. Heat transfer, decal application, shrink decoration, in-mold labeling, and sublimation on a purpose-coated product use different materials and process conditions. A standard PP or PET cup should not be assumed to accept a sublimation or heat-transfer image. Cup coating, adhesive, carrier film, temperature tolerance, pressure, and final-use requirements have to match the chosen transfer process.
Can Your Plastic Cup Be Printed Reliably?
Material identification is the beginning of the test, not the final answer. Two PP cups can behave differently because of additives, recycled content, mold-release residue, slip agents, antistatic additives, coatings, storage contamination, or supplier process changes.

| Cup material or condition | What to check first | Typical test concern | Practical starting approach |
|---|---|---|---|
| PP | Surface condition, contamination, supplier and batch | Ink wetting and adhesion can be difficult | Clean the cup, print an untreated control, then compare suitable pretreatment routes under the same print and curing conditions |
| PET | Surface coating, contamination, transparency, rigidity | Adhesion can vary with formulation and surface condition | Use cleaning as a baseline and add treatment only when the controlled adhesion test shows it is needed |
| PS | Ink and cleaning-chemical compatibility | Surface damage or poor durability | Test the actual cup with the intended cleaning, ink, and curing sequence |
| PLA or heat-sensitive cup | Wall rigidity and thermal response | Deformation during treatment or curing | Evaluate the complete process window, including treatment exposure and UV-curing conditions |
| Recycled or blended plastic | Batch consistency and surface variation | One approved batch may not represent later supply | Retest representative production batches and record supplier or lot information |
| Transparent cup | Required opacity and transparent design areas | CMYK may look weak without a white layer | Build separate color, white, and transparent areas in the artwork plan |
| Thin-wall cup | Roundness, wall flex, rim strength | Ovalization, slip, runout, or deformation | Evaluate the mandrel, vacuum fixture, or internal support together with the printer |
Transparent Cups Need an Ink-Layer Plan
A transparent cup does not always require a full white flood. The correct white layer depends on the visual target. A full white underbase can increase opacity behind color. Selective white can preserve transparent windows. A design intended to look translucent may use little or no white in specific areas.

Reviewing transparent plastic cup printing samples can help clarify the difference between opaque and intentionally transparent design areas. In production, the file should separate color, white underbase, selective white, varnish, and no-print zones as required.
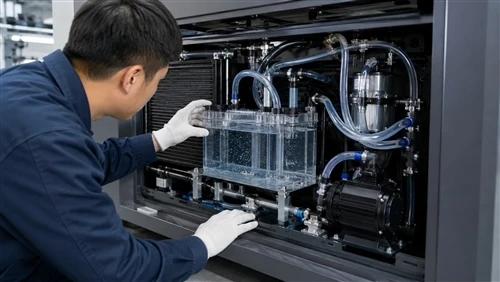
White ink also creates a maintenance issue that should not be treated as a cosmetic detail. Pigment behavior, circulation, agitation, nozzle condition, and the ink delivery system affect consistency. A weak or poorly maintained white channel can produce uneven underbase coverage even when the CMYK image looks normal. The site's guidance on UV printer white-ink particle and circulation problems is relevant when evaluating maintenance requirements.
Taper, Print Gap, and Cup Runout Are Linked

A cup that looks cylindrical on a product photo may have enough taper to change the distance between the surface and the printhead. Inkjet droplets travel through a physical gap before reaching the cup. If the cup surface moves away from the intended position, droplet placement can shift and edges can lose definition. If the rotary fixture also allows the cup to wobble, the error changes during every revolution.
This is why taper compensation is not only a software checkbox. The printer, image compensation, fixture, rotary accuracy, print-gap strategy, rim clearance, and base clearance must work as one system. A conical cup printing sample is a more relevant proof for a tapered cup buyer than a demonstration on a straight metal bottle.
Does Plastic Cup Printing Need Pretreatment?

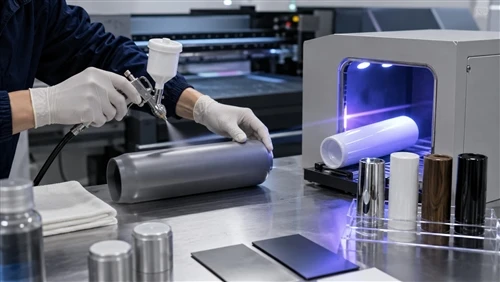
Sometimes cleaning is enough. Sometimes corona, atmospheric plasma, flame treatment, primer, or a combined process is required. The correct answer should come from a controlled comparison rather than from the resin name alone.
A practical pretreatment validation sequence is:
-
Stabilize the cup condition
- Use cups from a known supplier and production batch. Record storage conditions and remove obvious dust or condensation.
-
Use a defined cleaning method
- The cleaning material must be compatible with the plastic and should not leave its own residue.
-
Keep an untreated control
- Do not treat every test cup. The untreated sample shows whether the treatment produced a real improvement.
-
Compare one treatment variable at a time
- Keep the artwork, ink, print mode, curing, fixture, and test method unchanged while comparing treatment routes.
-
Control treatment-to-print time
- Do not assume a treated cup will behave identically after an undefined storage period. Record how long the cup waits before printing.
-
Apply primer consistently when primer is used
- Uneven coating thickness can create local differences in wetting, appearance, and adhesion.
-
Test after a defined conditioning period
- A freshly cured image may pass a visual check but fail later during rubbing, squeezing, moisture exposure, or storage.
-
Repeat the winning process on another batch
- The goal is a repeatable process window, not one perfect sample.
For cylinder applications, the discussion of improving UV cylinder print adhesion is a useful related reference. Treatment should still be validated on the intended cup and ink combination. Overtreatment, excessive heat, or an unstable primer process can introduce new defects rather than solve the original one.
Plastic Cup Printing Process: Eight Controlled Steps
1. Identify the Cup
Record the known resin, supplier, batch or lot information, top and bottom diameter, cup height, taper, wall thickness, color, transparency, rim structure, base structure, mold seams, ribs, and intended print area. A dimensioned drawing is better than a description such as "standard 16 oz cup."
2. Define the Production Job
Specify the expected order sizes, number of artwork versions, target good cups per shift, print coverage, color requirements, white and varnish layers, changeover frequency, final use environment, and durability requirement. These factors determine whether the process needs maximum repeat speed or maximum job flexibility.
3. Clean and Condition the Surface
Remove dust, grease, fingerprints, condensation, and other contamination through a documented procedure. Keep cup storage and printing conditions stable enough to avoid unpredictable condensation or surface changes.
4. Validate Pretreatment
Run the controlled comparison described above. Select the minimum repeatable treatment that meets the agreed acceptance standard. "More treatment" is not an engineering target.
5. Prepare the Fixture and Print Position
Install the correct mandrel, vacuum support, or internal fixture. Check cup seating, rotational stability, runout, print origin, seam location, rim clearance, and base clearance. Thin disposable cups deserve special attention because excessive support can distort the cup while insufficient support allows it to move.
6. Prepare the Artwork
Check image resolution, wrap seam, distortion compensation, small text, barcode readability, minimum line width, white underbase, selective white, varnish, transparent areas, and overlap near the seam. For tapered cups, the approved file should be tested on the actual geometry rather than judged only on a flat monitor.
7. Print and Cure
Document the print mode, ink configuration, layer sequence, pretreatment, fixture, curing settings, and relevant environmental conditions. When diagnosing a defect, changing several variables at once destroys the value of the test record.
8. Inspect and Test
Inspect image position, color, white coverage, seam quality, text, and visible defects first. Then perform the agreed adhesion, abrasion, handling, moisture, temperature, squeezing, storage, or application-specific tests. One attractive cup immediately after printing is not a production acceptance test.
How to Calculate Real Plastic Cup Printing Output?
Advertised machine speed is a cycle figure under a defined configuration. Purchasing decisions should use good cups per hour or per shift.
Net good cups per hour = theoretical cups per hour × loading efficiency × uptime × first-pass yield
For example, assume a production mode has a theoretical rate of 600 cups per hour. If loading efficiency is 85%, uptime during the measured period is 90%, and first-pass yield is 95%, the estimated result is:
600 × 0.85 × 0.90 × 0.95 = approximately 436 good cups per hour.
This simple calculation immediately exposes why two machines with the same headline speed can produce different business results. A fixture that is slow to load reduces loading efficiency. Frequent nozzle recovery reduces uptime. Poor pretreatment or unstable rotation reduces first-pass yield.
Measure output in the exact print mode you intend to sell. Heavy white coverage, multiple ink layers, varnish, higher-quality modes, online pretreatment, and inspection can change the production cycle. A general reference on calculating UV printer speed can support the discussion, but the final buying calculation should use the cup, artwork, and layer sequence from the intended job.
Manual, Automatic Loading, or an Integrated Line?
| Automation level | Best evaluated for | Main advantage | Main risk |
|---|---|---|---|
| Manual or semi-automatic | Mixed jobs, lower utilization, frequent cup-format changes | Lower system complexity and flexible handling | Operator pace and consistency can limit output |
| Automatic loading and unloading | Repeat cup formats and sustained production demand | More consistent material handling | Feeding and orientation must match the cup geometry |
| Integrated line | High utilization with stable process requirements | Can link feeding, treatment, printing, curing, unloading, and inspection | Higher investment and more complex changeover and recovery planning |
For buyers studying higher automation, a multi-station cylindrical UV printer provides a relevant equipment category to compare against manual or single-station workflows. The decision should be based on annual job data and format stability, not on a general preference for "more automation."
Plastic Cup Printing Machine Cost: Calculate Unit Cost, Not Only Purchase Price
There is no meaningful single plastic cup printing machine price because the quoted system may change with printheads, ink configuration, cup range, taper capability, pretreatment, loading, number of stations, fixtures, curing, software, inspection, installation, training, and service scope.
In many evaluations, the three cost areas to examine first are:
- The production architecture: manual, automatic loading, or an integrated multi-station line can change both capital cost and labor assumptions.
- The ink and layer configuration: CMYK-only production and CMYK plus heavy white and varnish do not have the same ink consumption or cycle logic.
- Tooling and real yield: fixtures, cup changeovers, setup waste, rejects, and downtime are often underestimated because they are not prominent in the machine headline price.
A practical unit-cost model is:
Cost per good cup = ink and pretreatment per cup + direct labor per good cup + annualized equipment cost divided by annual good output + changeover and setup waste + maintenance and downtime allowance
Calculate ink by the actual artwork and layer coverage whenever possible. A low-coverage CMYK logo should not be used to estimate a design with a full white underbase and dense color. The site's article on calculating UV printing cost provides a related cost framework; for cups, add the rotary fixture, loading method, pretreatment, cup rejects, and changeover losses specific to the application.
How to Compare In-House Printing with Outsourcing
Use annual order data rather than the price of one outsourced job. First calculate the annual fixed ownership cost of the in-house system. Then estimate the variable in-house cost per good cup. Compare that figure with the landed outsourcing cost per cup.
Approximate break-even annual volume = annual fixed ownership cost ÷ (outsourced cost per cup − in-house variable cost per good cup)
This formula is only useful when the cost difference is positive and the machine has enough capacity to produce the required annual volume. It should also be adjusted for financing, service, facility preparation, quality losses, and the value of shorter lead times where those factors are material to the business.
Common Plastic Cup Print Defects and What to Check First
| Defect | Likely causes | First checks |
|---|---|---|
| Ink rubs or peels off | Contamination, insufficient or inconsistent pretreatment, incompatible ink, curing problem, unstable surface condition | Compare treated and untreated controls; verify cleaning, treatment-to-print time, ink, curing, and test timing |
| Visible wrap seam or image mismatch | Incorrect artwork length, seam position, rotary calibration, overlap, or cup slip | Check circumference data, file compensation, print origin, rotary repeatability, and fixture grip |
| Graphic stretches on a tapered cup | Incorrect taper compensation or changing print geometry | Reconfirm top and bottom diameter, printable length, taper, image mapping, and print gap |
| Banding or unstable detail during rotation | Cup runout, oval cup, fixture movement, nozzle condition, or rotational error | Rotate an unprinted cup and measure visible runout before changing color settings |
| White underbase is weak or uneven | White-ink circulation, nozzle condition, ink delivery, layer settings, or excessive variation in surface position | Run a nozzle check, verify circulation and ink condition, then inspect cup-to-printhead geometry |
| Fuzzy edges or overspray-like appearance | Excessive print gap, static, unstable cup position, or inappropriate print settings | Check physical gap and cup stability before increasing resolution or changing the artwork |
| Cup deforms during printing | Thin wall, excessive fixture force, thermal exposure, or unsupported rotation | Inspect the mandrel or internal support and test the cup through the full treatment and curing sequence |
A broader UV printer troubleshooting reference can help operators investigate machine-side problems. For cup applications, always separate machine faults from cup-material, fixture, and pretreatment faults. Otherwise, operators may repeatedly change ink or print settings to compensate for a cup that is physically moving during rotation.
Sample Test Acceptance Criteria Before Buying a Machine
The acceptance standard should be agreed before the machine is ordered. "The sample looks good" is too subjective for industrial equipment acceptance.
Prepare a representative standard cup and a standard artwork file that contains the difficult features your real orders use. That may include fine text, a barcode, a full-color image, a wrap seam, white underbase, selective white, and dense ink areas. Then define the production mode and the test sequence.
| Acceptance item | What to define before the test |
|---|---|
| Cup specification | Supplier, resin if known, batch, dimensions, taper, wall condition, color, and transparency |
| Artwork | Approved standard file and required print area |
| Production mode | Resolution or quality mode, ink sequence, white coverage, varnish, pretreatment, and loading method |
| Continuous operation | Agreed run duration or quantity and rules for planned maintenance |
| First-pass yield | How a good cup and a reject are classified |
| Color | Approved reference and, where required, an agreed measurement method or tolerance |
| Wrap seam | Acceptable gap, overlap, or registration deviation |
| Fine text and barcode | Minimum text requirement and barcode verification method |
| Adhesion and abrasion | Test method, conditioning time, tape or tool specification where applicable, number of cycles, and pass/fail rule |
| Handling and environment | Wet rubbing, condensation, squeezing, temperature, chemical, or storage exposure relevant to the application |
| Changeover | Defined cup or artwork change and the time measurement start and end points |
| Repeat positioning | Number of repeated loads and acceptable image-position variation |
| Stop and restart | Defined idle period and the recovery procedure allowed before acceptable printing resumes |
Test names alone are not enough. A cross-hatch or tape adhesion test, for example, must have an agreed method, conditioning time, materials, and pass/fail rule. The suitability of a specific ASTM, ISO, customer, or internal method should be confirmed for the cup construction and end use rather than assumed for every thin flexible plastic cup.
The same principle applies to food-contact applications. Printing on the outside of a cup does not by itself prove compliance with the intended market or end use. Ink selection, migration risk, cup construction, print location, curing, customer specifications, and the applicable regulatory framework must be reviewed by the relevant material suppliers and compliance specialists.
Before a purchase decision, ask the supplier to document the test setup and results. The site's guide on testing UV printer performance is a useful related resource, but the final acceptance protocol should be written around the actual cup and job.
Application Example: How to Review a Tapered or Transparent Cup Test
A useful application review starts with the parts of the job most likely to fail. For a tapered transparent cup, those are usually not the same as for a straight opaque bottle. The test record should focus on geometry, support, white-ink structure, wrap compensation, and adhesion.
First, record the top diameter, bottom diameter, cup height, printable length, wall thickness, transparency, and known resin. Then check whether the cup stays round when it is mounted. If the cup becomes oval or the rim is distorted, image calibration performed on that fixture may not remain valid in production.
Second, separate the artwork into color, white, and transparent zones. Look closely at the edge of the white underbase. A white layer that extends beyond the color image can create a visible halo. A white layer that is too small can leave weak color around the edge.
Third, print a wrap graphic that makes seam error easy to see. A generic logo in the center of the cup is a poor taper test because it may hide rotational or compensation problems. Use lines, text, or controlled image features near the intended seam.
Finally, test adhesion and handling after the agreed conditioning period. The plastic cup printing sample gallery can be used to review cup application examples, but a purchasing decision still needs documented test conditions and acceptance criteria for the buyer's own cup.
Actual Plastic Cup Printing Machine Selection Checklist
When we reduce the purchase decision to the issues that most often change the machine choice, five checks come first.
1. Prove the Cup Geometry
Submit top and bottom diameter, height, taper, print area, rim and base clearance, and physical samples. A bottle printer that accepts the cup diameter is not automatically a suitable cup printer. Thin walls, stacking ribs, recessed areas, and mold seams can change the fixture design.
2. Prove the Ink and Surface Process
Define whether the job requires CMYK, white, varnish, or multiple layers. Document cleaning, pretreatment, treatment-to-print time, curing, and the final durability tests. For PP and other difficult surfaces, the pretreatment system should be part of the application test, not an accessory discussed after the printer is ordered.
3. Measure Good Output in the Real Print Mode
Use the intended artwork, white coverage, quality mode, loading method, and pretreatment. Record theoretical cycle rate, loading efficiency, uptime, and first-pass yield. Ask for good cups per hour or per shift.
4. Time the Real Changeover
Define a change from one actual cup format to another. Include fixture replacement, mechanical adjustment, file setup, origin calibration, nozzle checks, and the time until the first accepted cup. This is especially important for businesses buying a custom cup printing machine to handle multiple SKUs.
5. Review Maintenance and Technical Support
Check daily and weekly maintenance, white-ink circulation, nozzle-check procedures, printhead cleaning, spare parts, remote support, operator training, warranty terms, software support, and application testing capability. A lower purchase price does not compensate for unstable maintenance, poor spare-parts access, or weak application support when the printer is expected to run as production equipment.
Frequently Asked Questions
Q: How many cup samples should I send for a printing test?
A: Send enough cups to test setup, pretreatment alternatives, print calibration, durability, repeatability, and a short production run. The exact quantity depends on how many cup batches, artwork versions, and process variables need comparison. Sending one or two perfect cups is rarely enough for a serious qualification test.
Q: Should I test cups from more than one production batch?
A: Yes, when batch variation is a realistic supply risk. One approved batch proves only that the tested process worked on that batch. Recycled blends, additives, mold-release conditions, storage contamination, and supplier process changes can affect later printing behavior.
Q: How do I know whether I need an automatic plastic cup printing machine?
A: Calculate annual demand by cup format and measure how stable the formats are. Automatic feeding is more attractive when a small number of cup geometries run for long periods. Manual or semi-automatic handling may remain more practical when order quantities are lower and cup formats change frequently.
Q: Can one machine print straight and tapered cups?
A: Only when the supported geometry, rotary system, fixture, software compensation, and print-gap strategy cover both applications. The supplier should prove each target cup, not only state a maximum diameter range.
Q: What information should I send to a plastic cup printing machine manufacturer?
A: Send physical cup samples, a dimensioned drawing, known resin and supplier information, cup color and transparency, artwork, print area, expected order sizes, target good output, required ink layers, final use conditions, and written acceptance tests. Those inputs are more useful than asking for the "fastest machine" without a defined job.
Conclusion
The best plastic cup printing machine is the system that repeatedly produces acceptable cups at the required net output and unit cost on the buyer's real cup.
Before requesting a final machine recommendation, prepare three things: physical cup samples and dimensions, representative artwork and ink-layer requirements, and a written production and durability acceptance target.
Dacen can use those inputs to evaluate the application and identify a suitable test path. Contact the Dacen Printer team to discuss a plastic cup sample test before treating a catalog specification as a production approval.