Glass can be printed by UV inkjet, screen printing, pad printing, ceramic decals, and other transfer processes. For commercial work, the best method depends on four practical factors: the shape of the item, the complexity of the artwork, the production volume, and the durability expected after handling, packing, or washing.
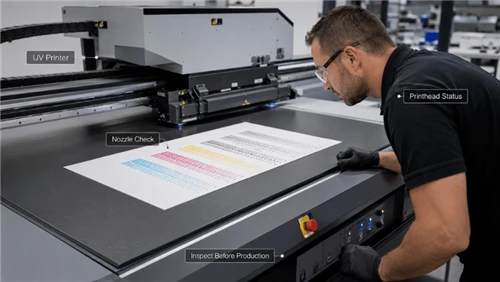
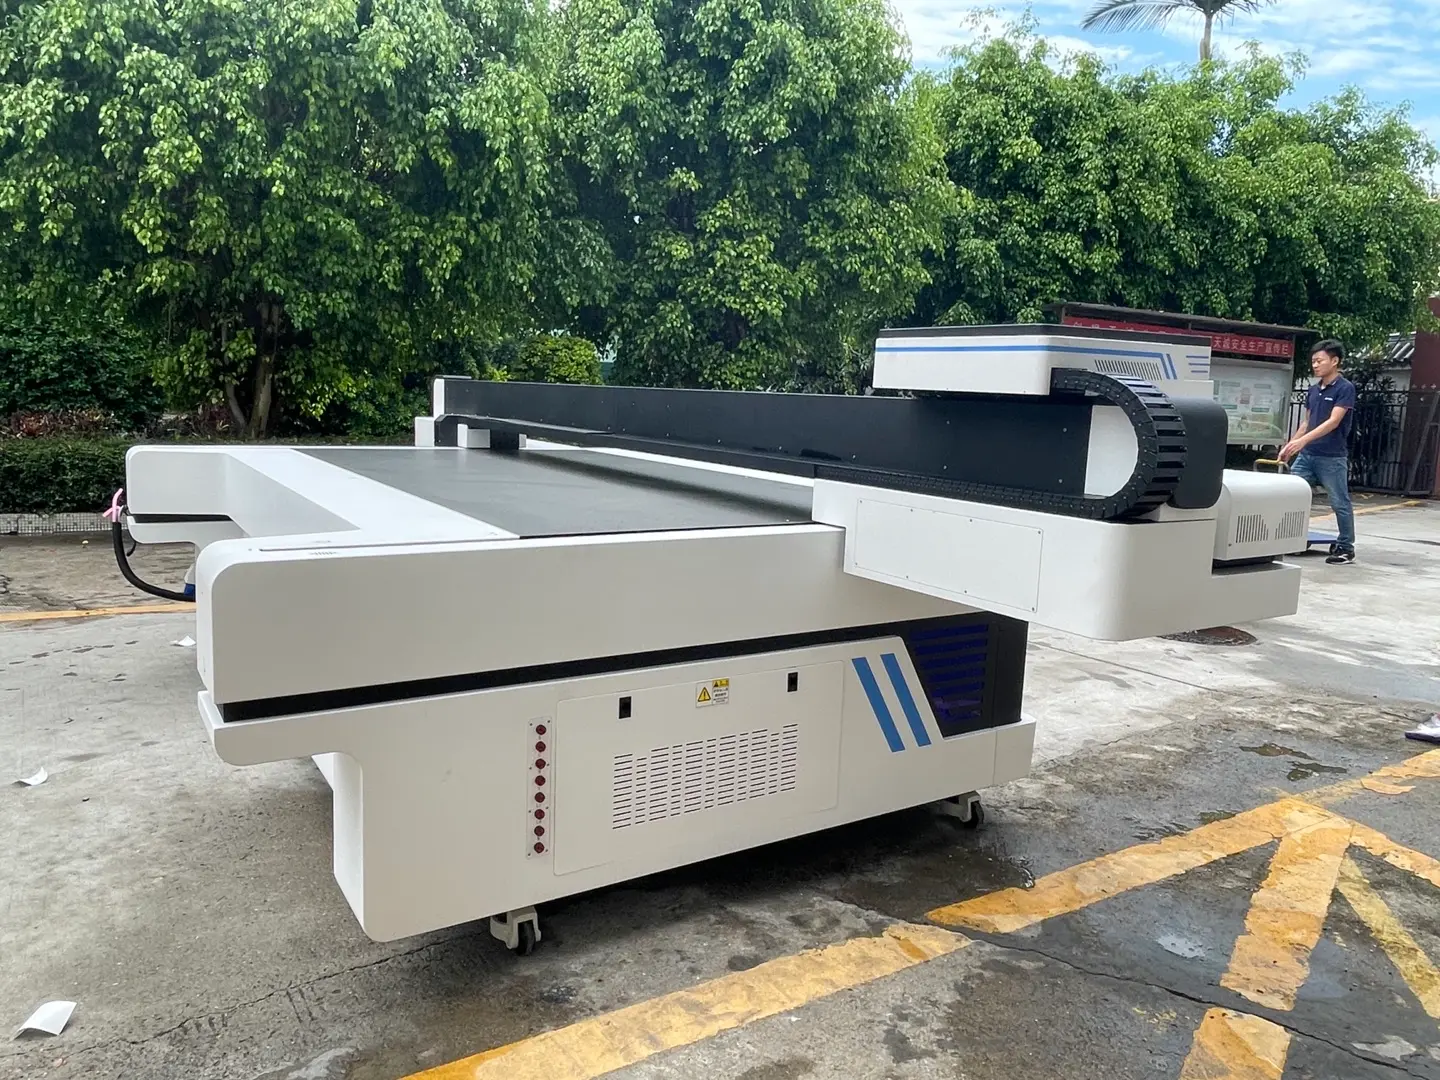
UV printing is usually the most flexible option for full-color graphics, personalization, frequent artwork changes, and short-to-medium production runs. A UV flatbed printer is generally used for panels, awards, signs, and other flat glass products, while a cylindrical UV printer is designed for bottles, cups, jars, and other round objects.
The difficult part is not placing an image on glass. The difficult part is building a repeatable process in which the ink continues to adhere after the product is touched, packed, rubbed, exposed to moisture, or cleaned. Surface condition, ink compatibility, primer, white ink, fixture accuracy, curing, and testing must therefore be treated as one production system.

Can You Print Directly on Glass?
Yes, UV ink can be printed directly on many glass products. UV-curable ink is exposed to ultraviolet radiation during printing, allowing it to cure rapidly on non-absorbent substrates such as glass, plastic, and metal. Mimaki provides a useful official overview of UV-curable ink and its use on non-absorbent materials.
However, "printable" does not automatically mean "durable." Glass is smooth and non-porous, and its surface may carry fingerprints, oil, silicone residue, release agents, coatings, dust, or moisture. Any of these can weaken the bond between the cured ink film and the substrate.
Before deciding that a glass item can be printed without pretreatment, test the actual production sample. Two products that look identical may behave differently because they come from different glass suppliers or have different surface coatings.
Which Glass Printing Method Should You Choose?

| Method | Best Use | Artwork | Production Profile | Main Strength | Main Limitation |
|---|---|---|---|---|---|
| UV inkjet printing | Flat glass, bottles, cups, jars, awards, personalized products | Full color, gradients, photos, variable data, white ink | Short, medium, or mixed-design runs | No screen or plate is required for each design | Adhesion must be validated for the exact glass, ink, primer, and curing setup |
| Screen printing | Repeated logos and simple graphics on bottles, jars, and drinkware | One or several spot colors | Long runs with limited artwork changes | Strong color density and repeatability | Each color and artwork change requires additional setup |
| Pad printing | Small logos on curved, recessed, or irregular areas | Small, limited-color graphics | Repeated localized printing | Silicone pads can reach surfaces that are difficult for flat printing | Not suitable for large photographs or seamless full-wrap graphics |
| Decals or transfers | Decorative products and special finishes | Varies by transfer process | Low-volume or specialized production | Can support effects that are difficult to print directly | Additional materials and manual application increase process time |
UV printing is not automatically the best choice for every order. A factory producing one simple logo in very large quantities may obtain better economics from screen printing. A business producing multiple personalized bottle designs, however, usually benefits more from a digital workflow because artwork can change without remaking screens.
Best Printing Method by Glass Product Type

| Glass Product | Typical Requirement | Recommended Direction | Important Risk |
|---|---|---|---|
| Flat decorative panels | Large images, white layers, reverse printing, texture | UV flatbed printing | Panel flatness, head clearance, scratches, and inconsistent primer application |
| Glass awards and plaques | Short runs, names, photographs, white ink, varnish | UV flatbed printing | Weak color on transparent areas and visible fingerprints under the print |
| Drinking glasses | Logos, wraparound graphics, personalization | Cylindrical UV printing, screen printing, or pad printing depending on artwork and volume | Rim clearance, washing conditions, taper, and fixture slippage |
| Wine and spirit bottles | Premium branding, opaque white, full-wrap decoration | Cylindrical UV printing or screen printing | Bottle runout, neck and shoulder interference, seam alignment, and coating variation |
| Candle jars | Full-color decoration and frequent seasonal artwork | Cylindrical UV printing | Abrasion during packing and inconsistent jar diameter |
| Cosmetic bottles | Fine text, brand colors, small graphics, repeatability | UV inkjet, pad printing, or screen printing | Small registration errors, surface treatments, and chemical exposure during use |
Product shape is only the first filter. The final choice must also account for order size, design changes, required opacity, handling conditions, and the acceptance tests agreed with the buyer.
Step-by-Step UV Printing Process for Glass

Step 1: Identify the Glass and Its Surface Condition
Record the product supplier, glass type, dimensions, coating information, intended use, and print area. Check whether the item has an anti-fingerprint layer, protective coating, decorative finish, or release residue.
For round products, measure more than the nominal diameter. Check taper, ovality, seams, shoulders, handles, and raised areas that may affect rotation or printhead clearance. For flat panels, inspect edge chips, warping, surface scratches, and thickness variation.
Step 2: Clean the Print Area Without Leaving Residue
Use a lint-free material and a residue-free cleaning method approved for the glass, ink, and primer system. There is no universal cleaner that is correct for every glass product, so follow the recommendations of the ink or equipment supplier.
- Remove dust, oil, fingerprints, moisture, and packaging residue.
- Allow the surface to dry completely before primer or ink is applied.
- Do not touch the cleaned print area with bare hands.
- Keep cleaned products separated from uncleaned products.
- Reject pieces with surface damage inside critical print areas.
The existing glass UV printing procedure can be used as a supporting internal resource when building a standardized operator checklist.
Step 3: Decide Whether Primer or Pretreatment Is Required

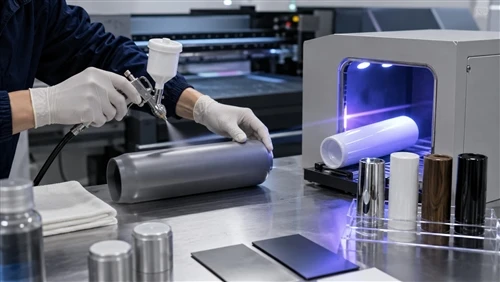
Primer is a transparent base treatment used to improve the adhesion of UV ink on materials where the ink comes off easily. Roland DG recommends primer printing for difficult substrates and provides an official primer-printing procedure. Primer performance is substrate-dependent, so it should never be assumed to work equally on every glass item.
A practical sample test should compare at least two conditions:
- Cleaned glass printed without primer
- The same glass printed with the selected primer or coating
Keep artwork, ink density, curing settings, print direction, and test timing the same. This isolates the effect of the pretreatment. Dacen's articles on coating before UV printing and improving UV ink adhesion provide additional internal reading on this stage.
Do not apply excessive primer. An uneven or overly heavy layer may affect gloss, transparency, edge quality, or color appearance. The objective is not to apply as much primer as possible; it is to establish the minimum controlled process that passes the required durability tests.
Step 4: Prepare the Artwork and Ink-Layer Order

Transparent glass requires a different artwork strategy from white or opaque materials. CMYK printed directly on clear glass may look weak because light passes through the image. A white ink layer can increase opacity, improve color contrast, and make small text easier to read.
The correct layer order depends on how the finished piece will be viewed:
- Front-surface printing: white is commonly printed beneath the color image.
- Second-surface printing: the image is mirrored and printed on the back of the glass so it is viewed through the front. Depending on the RIP workflow, color may be printed first and backed with white.
- Double-sided appearance: additional white and color layers may be required, but total ink build and curing must be tested carefully.
Read more about the function of white ink in UV printing. When a gloss, matte, or raised decorative finish is required, the artwork may also include clear ink. The role of varnish in UV printing should be evaluated separately from adhesion because clear ink changes surface appearance and total ink thickness.
Step 5: Secure the Product and Confirm Printhead Clearance

Flat glass must remain stable and level throughout printing. Use suitable stops, a fixture, or an approved holding method, and confirm that no part of the panel can lift into the printhead path.
For cylindrical products, the fixture must:
- Hold the product without slipping or marking it
- Rotate at a stable speed
- Maintain a consistent distance between the print surface and printhead
- Control axial movement during rotation
- Position the start and end of a wraparound design accurately
A standard rotary attachment may be suitable for straight cylindrical products, but tapered glasses, conical cups, handles, shoulders, and irregular profiles may require dedicated fixtures, image compensation, or a specialized machine.
Step 6: Print and Record the Production Settings
Do not save only the artwork file. Record the complete production recipe:
- Glass supplier and product code
- Cleaning method
- Primer or coating used
- Artwork version and layer order
- Ink channels and ink set
- Print height
- Pass mode and print direction
- Ink density
- UV lamp or curing setting
- Fixture identification
- Testing time and test result
These records make later troubleshooting possible. Without them, operators may change several variables at once and never determine why adhesion or color changed.
Step 7: Inspect the Print Before Durability Testing
Check registration, color, opacity, banding, gloss, edge sharpness, wrap seam, texture, and contamination. For a cylindrical product, rotate the item under consistent lighting to inspect the entire printed area.
Do not approve a production process from color appearance alone. A visually attractive print may still fail during packing or washing. This is why sample proofing before production is essential.
How to Test Ink Adhesion and Durability?
The test plan should reflect the final use of the product. A decorative award displayed indoors does not require the same validation as a bottle shipped in bulk cartons or a drinking glass exposed to detergent and repeated washing.

Basic Screening Tests
- Tape check: evaluate whether ink lifts from a defined test area after tape is applied and removed using a consistent method.
- Scratch check: assess whether normal handling or a defined tool damages the surface.
- Dry rub test: rub the printed area for a controlled number of cycles with a specified material and pressure.
- Wet rub test: repeat the rub test using the liquid or cleaner relevant to the product.
- Water exposure: expose the sample for a specified period, then inspect for lifting, whitening, softening, or color change.
- Packaging abrasion test: reproduce contact between printed products, partitions, bags, or cartons during transport.
- Wash test: define detergent, temperature, cycle duration, drying method, and number of cycles before claiming wash resistance.
ASTM D3359 is a recognized tape-test standard for rating coating adhesion. Its published scope and method limitations should be reviewed before a company describes a glass-print test as ASTM-compliant. For many glass printing operations, a documented internal screening method matched to the product's real use may be more appropriate than casually naming a standard that has not been validated for the process.
Record both the method and the result. "Passed adhesion test" is not meaningful unless the test conditions, conditioning time, sample quantity, acceptance criteria, and failure mode are documented.
Why UV Ink Peels Off Glass

| Observed Problem | Likely Cause | What to Check |
|---|---|---|
| Ink lifts immediately during tape testing | Surface contamination, incompatible ink, missing primer, or unsuitable coating | Cleaning control, supplier coating information, ink compatibility, and primer comparison samples |
| Ink passes initially but fails after water exposure | Insufficient water resistance, primer incompatibility, or weak ink-to-primer bond | Wet test conditions, primer cure, ink system, and product-use requirements |
| Edges peel while the center remains attached | Heavy ink build, incomplete cure at edges, or contamination around product handling points | White ink density, clear ink coverage, lamp settings, and fixture contact areas |
| Color appears dull on clear glass | Missing or insufficient white backing | White ink layer order, opacity, RIP settings, and viewing direction |
| Wraparound image has a visible seam | Incorrect circumference calculation, rotation slip, or artwork overlap error | Actual diameter, fixture pressure, rotary calibration, and seam position |
| Image becomes blurred or misregistered | Incorrect print height, unstable fixture, uneven product rotation, or bidirectional calibration error | Head gap, product runout, fixture stability, and print-mode calibration |
| Varnish appears cloudy or uneven | Excessive clear ink, contamination, inappropriate curing, or inconsistent primer | Clear-layer density, substrate cleanliness, lamp settings, and pretreatment uniformity |
Flat Glass Printing vs. Cylindrical Glass Printing

Flat Glass
Flat glass is typically printed on a UV flatbed printer. This setup is appropriate for signs, decorative panels, appliance panels, awards, partitions, control panels, and photo glass.
A large-format machine such as the DG-2513 UV flatbed printer may be considered when the business needs to print larger panels or several smaller pieces on one bed. Selection should still be based on the actual printable area, product thickness, weight, fixture needs, ink configuration, and required production speed rather than the nominal bed size alone.
Second-surface printing is particularly useful for some flat glass products. Printing on the rear surface can protect the image from direct touching and create depth when the image is viewed through the glass. The artwork must be mirrored and the white layer order must be planned for the intended viewing side.
Cylindrical Glass
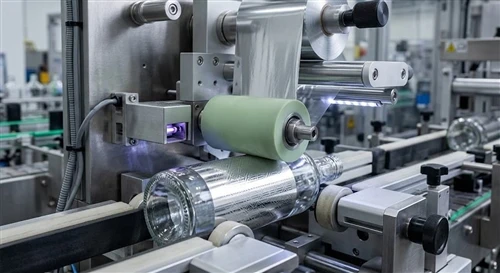
Cylindrical UV printing requires controlled rotation. Straight bottles and jars are usually easier to fixture than tapered cups, products with handles, or containers with shoulders close to the print area.
For production involving several items per cycle, a multi-station cylindrical UV printer may provide a more industrial workflow than a basic single-item rotary accessory. The correct choice depends on diameter range, printable length, product loading time, artwork changes, required seam accuracy, and expected daily output.
Prospective buyers can review glass cup printing samples and bottle printing samples to assess whether the image coverage, opacity, detail, and application type resemble their intended products.
When UV Printing May Not Be the Best Option?
UV printing should not be recommended simply because the printer can physically accept the object. Another method may be more suitable when:
- The order consists of a very large quantity of identical one-color or two-color logos.
- The required durability cannot be achieved with the tested UV ink and pretreatment system.
- The product shape cannot rotate or remain stable within the machine's fixture limits.
- The artwork must cross severe tapers, handles, shoulders, or deep recesses.
- The final product will experience heat, chemicals, outdoor exposure, or washing conditions that have not been validated.
- The printed area may contact food or a consumer's mouth and the full ink, coating, location, migration, and intended-use requirements have not been reviewed.
For food-contact articles, do not assume that a general-purpose UV ink is approved merely because it is printed on glass. The U.S. FDA explains that substances used in food-contact articles must be evaluated for their specific intended use, and authorization can depend on material, supplier, use conditions, and migration data. Review the FDA overview of food-contact substances and obtain appropriate compliance documentation before making a food-contact claim.
How to Choose a Glass UV Printer?
Do not begin with a machine model or headline speed. Begin with representative products and a written acceptance standard.

1. Define the Product Range
- Flat, cylindrical, tapered, or irregular
- Minimum and maximum dimensions
- Weight and wall thickness
- Coated or uncoated glass
- Required print area
- Need for full-wrap, partial-wrap, or local logo printing
2. Define the Artwork
- CMYK only or CMYK plus white
- Need for clear ink, gloss, matte, or raised texture
- Small text and barcode requirements
- Variable data or personalized names
- Number of artwork changes per shift
- Color-matching tolerance
3. Define the Required Output
- Pieces per shift rather than theoretical square meters per hour
- Loading and unloading time
- Number of fixtures or stations
- Typical print coverage
- Pass mode required to achieve acceptable quality
- Expected changeover and cleaning time
4. Evaluate the Ink and Pretreatment System
- Compatibility with the actual glass samples
- Primer application method
- White ink circulation and maintenance
- Ink storage requirements
- Documented curing and testing procedure
- Availability of technical data and safety documentation
5. Evaluate Fixtures and Motion Accuracy
- Maximum product height on a flatbed
- Minimum and maximum cylinder diameter
- Maximum printable length
- Ability to handle taper or conical shapes
- Rotation repeatability and seam control
- Fixture changeover time
- Printhead anti-collision and height-detection functions
6. Request Sample Printing Before Purchase
Send the supplier the actual glass products, production artwork, expected print coverage, and required durability tests. Ask for the complete test conditions rather than accepting attractive photographs alone.
A sample report should identify the ink, primer, artwork layers, print mode, curing setup, test method, and observed result. The broader UV flatbed printer buying guide provides further questions for evaluating machine configuration and supplier support.
Common Mistakes in Commercial Glass Printing
Approving a Sample by Appearance Alone
A visually acceptable image can still fail during tape testing, carton packing, cleaning, or repeated handling. Approve both appearance and durability.
Using One Setting for Every Glass Supplier
A change in supplier, coating, product batch, or manufacturing process can change adhesion. Treat major material changes as a reason to repeat sample validation.
Applying Primer Without Process Control
Primer should have a defined application method, coverage, drying or curing condition, and shelf-life control. Manual application without records can create more variation than it solves.
Ignoring Product Taper and Runout
A bottle may be described as cylindrical while still having enough taper or ovality to create visible registration errors. Measure and test the actual item.
Promising Dishwasher Resistance Without a Test Protocol
"Dishwasher safe" is not a visual judgment. Define detergent, temperature, cycle, printed location, number of washes, and acceptance criteria before making the claim.
Choosing a Printer Only by Purchase Price
Fixture quality, ink stability, white ink maintenance, technical support, sample testing, operator training, spare parts, and scrap rate often have a greater effect on production cost than the machine's initial price.
FAQ
Q: Can a UV printer print directly on glass?
A: Yes, but the result depends on the glass surface, UV ink, cleaning method, primer, curing settings, and required durability. Always validate the actual product before production.
Q: Does every glass product need primer?
A: No. Some combinations of glass and UV ink may pass the required tests without primer, while others need pretreatment. Compare controlled samples instead of applying one rule to every substrate.
Q: What is the best ink for printing on glass?
A: Use an ink system that the printer and ink supplier identify as suitable for glass or other rigid non-porous substrates. Compatibility must be confirmed with the actual glass, primer, curing system, and durability test.
Q: Why are colors weak on transparent glass?
A: CMYK ink is not fully opaque. Light passing through transparent glass can reduce contrast. A controlled white backing layer usually improves brightness and color appearance.
Q: Can a flatbed UV printer print glass bottles?
A: A flatbed printer may print some cylindrical products when equipped with a compatible rotary attachment. A dedicated cylindrical printer is generally more suitable when the business requires repeated bottle loading, controlled full-wrap printing, faster cycle times, or more precise seam alignment.
Q: Can one printer handle both flat panels and glass cups?
A: Some flatbed models support optional rotary systems, but this does not mean every bottle, cup, taper, or handle shape will be compatible. Confirm the printer's rotary range and request tests with the actual products.
Q: Is UV printing on glass permanent?
A: No printing process should be described as permanent without defined conditions. UV prints can be durable, but performance depends on substrate preparation, ink, primer, curing, handling, chemicals, moisture, abrasion, and exposure conditions.
Q: Is UV-printed drinkware dishwasher safe?
A: Only if the complete printed product has passed an appropriate wash protocol and the ink system is suitable for the intended use. Do not infer dishwasher resistance from a basic tape or scratch test.
Q: What information should I send to a printer supplier?
A: Send physical samples, dimensions, photographs, artwork files, desired print position, expected daily quantity, required colors, required durability, intended use, and the test method your customer expects.
Final Checklist Before Mass Production
- Confirm the exact glass supplier and product batch.
- Document the cleaning method.
- Compare samples with and without primer.
- Confirm white ink and clear ink layer order.
- Validate fixture stability and printhead clearance.
- Record print and curing settings.
- Inspect color, opacity, registration, and seam position.
- Run adhesion, rub, water, packaging, or wash tests appropriate to the product.
- Define acceptance criteria before production starts.
- Retain approved samples and production records.
Conclusion
The best way to print on glass depends on the product, artwork, volume, and durability requirement. UV printing is highly flexible for full-color graphics, variable designs, short runs, flat glass, and digitally decorated bottles or cups. Screen printing remains competitive for long runs of simple repeated graphics, while pad printing is useful for small logos on difficult curved areas.
For a reliable commercial process, treat cleaning, primer, ink, white layers, fixtures, curing, and durability testing as connected variables. Test representative products before purchasing equipment or approving a large order, and record the complete production recipe once the result meets the agreed standard.
To evaluate a specific glass panel, bottle, cup, or jar, prepare your samples, artwork, expected output, and durability requirements, then contact Dacen Printer for sample testing and machine selection.