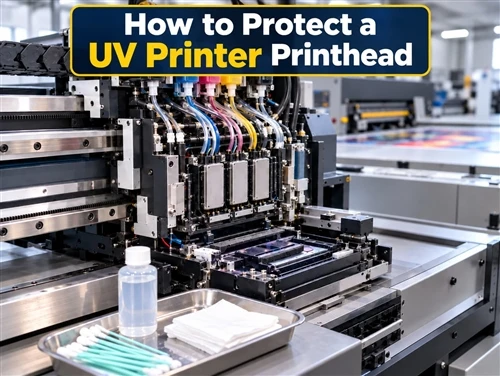
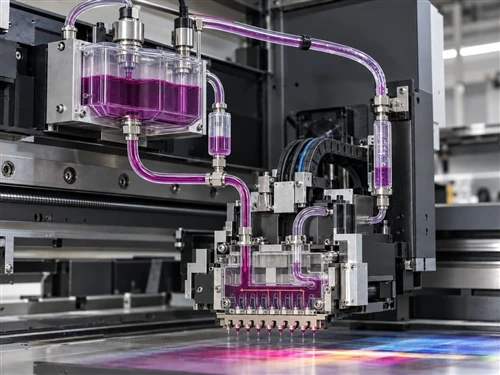
A UV printer printhead is one of the most expensive and sensitive components in a digital printing system. The best way to protect it is not aggressive cleaning after a clog occurs-it is preventing UV ink from drying or curing around the nozzles, maintaining a reliable capping and ink-supply system, using compatible fluids, and detecting changes before they become permanent damage.
A printhead should also never be treated as an isolated component. Caps, wipers, dampers, filters, negative pressure, white-ink circulation, carriage height, UV-light shielding and environmental conditions all affect nozzle reliability.
If you operate industrial UV flatbed printers, use the following preventive framework as a starting point, then adapt it to the printer manufacturer's maintenance manual and the exact printhead/ink configuration.
Daily and Weekly Maintenance Checklist
The safest maintenance routine starts with inspection and a nozzle test rather than repeated cleaning.
Epson's SureColor V7000 maintenance schedule, for example, requires daily attention to the waste-ink system, media table, printhead nozzles and carriage, showing that preventive maintenance should be part of normal production rather than something performed only after print quality deteriorates.
A practical production schedule looks like this:
| Time | Maintenance Action | Why It Matters |
|---|---|---|
| Before each shift | Print and save a nozzle check | Establishes a baseline before production |
| Before printing | Inspect cap, wiper and visible carriage area | Finds dried ink, lint or damaged maintenance parts |
| During setup | Verify media height and printhead clearance | Reduces head-strike risk |
| After long jobs | Check for ink mist around the carriage | Prevents contamination from becoming cured deposits |
| End of shift | Run the approved parking/capping procedure | Keeps the nozzle face sealed from air and light |
| Weekly | Clean approved maintenance areas and inspect waste path | Prevents cap, pump and wiper problems |
| Weekly | Review nozzle-test records | Detects gradual deterioration before failure |
For more detailed shift-based procedures, see Dacen's UV printer printhead maintenance guide.
When a nozzle check shows a few missing lines, begin with the printer's normal automatic cleaning mode. After cleaning, allow the ink system to stabilize before retesting; Dacen's current cleaning guidance uses approximately 1–3 minutes after a normal cleaning cycle before another nozzle check.
Do not automatically run five or ten strong cleaning cycles.
If two or three approved recovery attempts produce little or no improvement, inspect the cap seal, ink supply, damper/filter, negative-pressure system and air bubbles before escalating to deeper cleaning.
For U.S. shops, maintenance also has an occupational-safety component. NIOSH recommends controlling cleaning-solvent exposure through substitution, ventilation, good work practices and suitable chemical-resistant PPE. Glove material should be selected from the actual cleaner's SDS rather than assuming ordinary latex gloves provide adequate protection.
Approved Cleaning Solvents and Step-by-Step Flushing Protocols
The most important rule for UV printhead cleaning is:
Never assume that alcohol, acetone, water or a generic "UV cleaner" is safe for the nozzle plate.
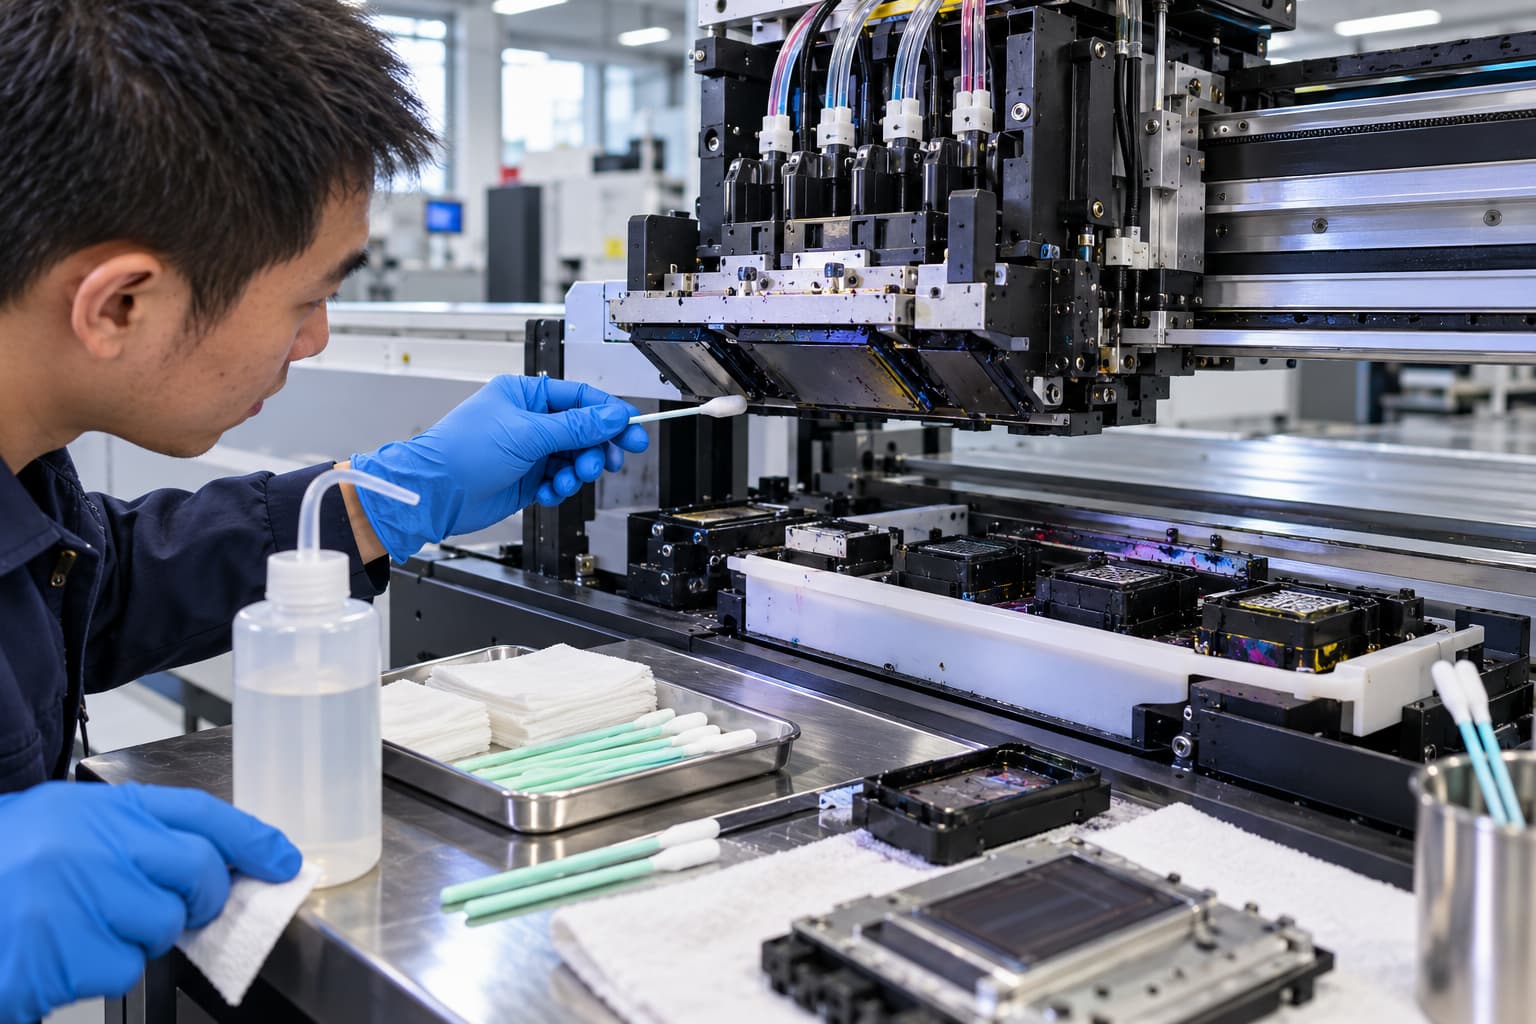
UV printheads contain different metals, coatings, adhesives, elastomers and internal fluid channels. A cleaner that is safe for a lamp window or machine frame may damage the head.
Use a cleaning or maintenance fluid validated for the printer + printhead + ink system, not simply for the printhead brand.
For example, Mimaki publishes model- and ink-specific maintenance fluids. Maintenance Liquid 15 is used across many UJF/JFX UV systems, while certain configurations use Maintenance Liquid 11, 16 or dedicated washing liquids. Mimaki also identifies the compatible printer and ink families rather than treating the liquids as universal cleaners.
That is the correct model for a professional maintenance program.
Safe cleaning sequence
Use this escalation sequence:
Nozzle check → normal automatic cleaning → retest → inspect cap/wiper → OEM nozzle wash → OEM deep cleaning → technical service
A manual flush should only be performed when the service documentation explicitly authorizes it.
Do not invent a syringe pressure.
There is no universal safe flow rate or pressure for Epson, Ricoh, Kyocera or other industrial heads. Excessive pressure can damage internal membranes, separate bonded components, flood electronics or damage the nozzle plate.
Where the manufacturer specifies a procedure, follow that number exactly.
For example, a Mimaki UJF procedure specifies filling a maintenance path with 3 cc of approved liquid at approximately 1 cc/second, while its nozzle-wash dwell time can be set from 1 to 10 minutes for that particular machine and procedure. Those values belong to that Mimaki maintenance system and should not be copied to another printer.
Mimaki's stronger Maintenance Liquid 16 provides another useful warning: the manufacturer states that it can affect rubber and plastic components, limits its use to the specified nozzle-wash procedure and recommends contacting its engineers before first use.
Operators should therefore wear splash goggles and chemical-resistant gloves specified by the cleaner SDS and use local ventilation where solvent vapor exposure is possible. NIOSH specifically recommends local exhaust, appropriate gloves and controlled storage of solvent-soaked cleaning materials.
Dacen's dedicated guide on how to clean a UV printer printhead provides a useful troubleshooting sequence before deep cleaning is considered.
Proper Storage, Capping Stations and Transport Protection
Many printheads are damaged while the printer is idle rather than while it is printing.
During a weekend shutdown, the priority is keeping the nozzle face correctly capped and preventing UV light, air and dried residue from reaching the head.
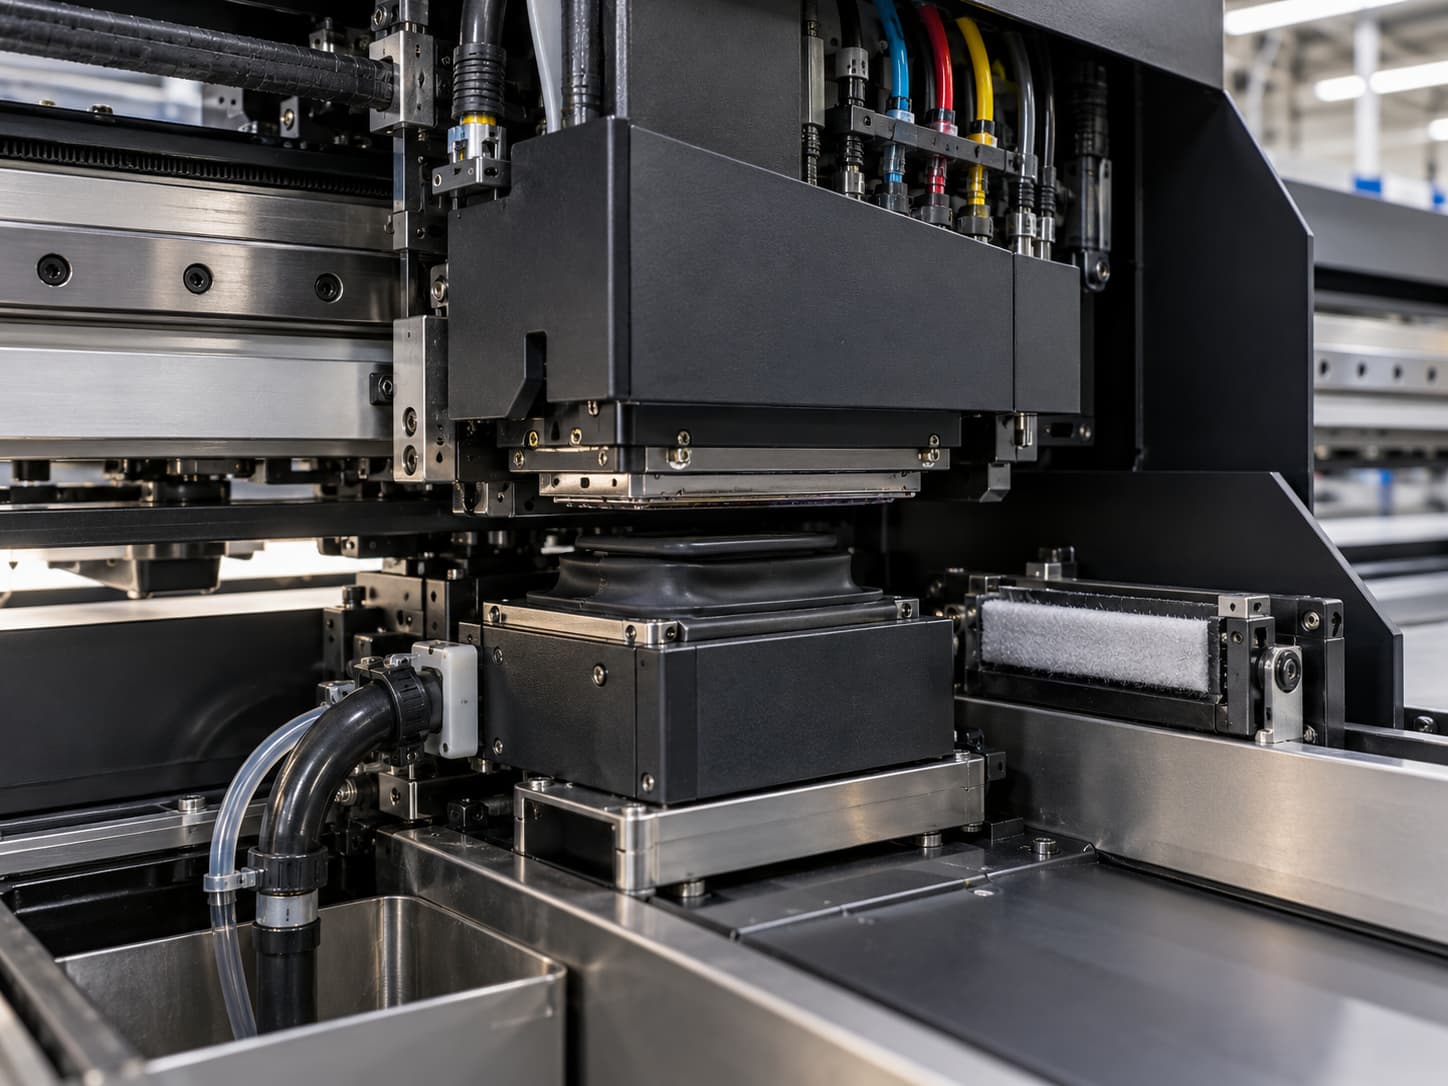
The capping station should create an even seal against the designated area of the head. A dirty, distorted or hardened cap can allow air leakage, causing the nozzle face to dry even though the carriage appears to be parked correctly.
Inspect:
cap-top cleanliness and elasticity;
wiper edge condition;
waste tubing and pump function;
carriage parking position;
light shielding around the printhead;
UV lamp position and accidental reflected UV exposure.
Never place the printhead where sunlight can reach it. UV-curable ink can polymerize when exposed to sufficient UV energy, and once cured material forms in or directly over a nozzle, ordinary flushing may no longer recover it.
For shutdowns longer than the normal weekend interval, use the printer manufacturer's long-term-storage procedure. Some systems require ink-path washing or caps filled with approved maintenance fluid. Mimaki, for example, publishes a dedicated long-term-storage sequence rather than simply recommending that the machine be switched off.
Do not drain a UV ink system and leave it dry unless the manufacturer specifically instructs you to do so.
Environmental protection
Keep the printer inside the manufacturer's specified temperature and humidity range. More important than chasing one universal humidity number is avoiding:
direct HVAC airflow across the carriage;
dusty grinding or woodworking areas;
direct sunlight;
large overnight temperature swings;
condensation;
uncontrolled ink storage temperatures.
A certified cleanroom is usually unnecessary for a conventional UV printing shop. A clean, filtered, low-dust production room with disciplined housekeeping provides more practical value.
Transporting a UV printer
Before road or ocean transport, complete the printer's approved shutdown procedure, secure the carriage using the manufacturer-provided transport lock, protect the maintenance station, shield the head from light and prevent the carriage from moving during vibration.
Do not remove and package a printhead separately unless the service procedure requires it.
After delivery, inspect carriage locks, ink leakage, connectors, cap alignment and nozzle status before beginning production.
Ink Compatibility, Model-Specific Settings and Firmware Tips
A printhead being described as "UV compatible" does not mean it can safely jet every UV ink.
Ink viscosity, surface tension, pigment size, temperature, drive waveform, negative pressure, tubing, filters and cleaning fluid must work together.
Ricoh's MH5421F, for example, is specified for UV, solvent and aqueous fluids, but Ricoh offers different viscosity versions: approximately 11 mPa·s for the MH5421F and 6 mPa·s for the MH5421MF.
Kyocera's KJ4A family is specifically designed for higher-viscosity fluids such as UV-curable ink. Current KJ4A models commonly specify an optimum viscosity around 6–7 mPa·s at the printhead operating temperature, depending on the exact model.
Epson likewise distinguishes between head families. Epson currently identifies I3200, I1600, S3200 and other industrial PrecisionCore models as supporting selected UV applications. Therefore, do not treat the often-mentioned "XP600-class" aftermarket configuration as proof that every Epson head is officially validated for every UV chemistry.
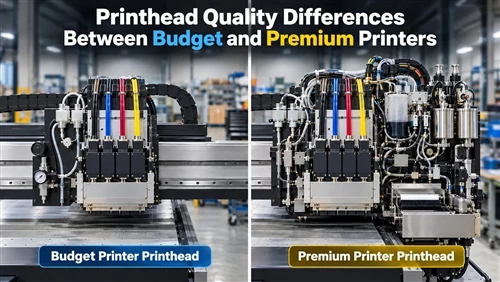
This is why Dacen recommends evaluating the UV printer printhead together with the ink system, waveform, temperature, pressure and maintenance fluid rather than comparing heads only by nozzle count.
Firmware settings should follow the same principle.
Useful settings to review include automatic wiping frequency, idle-spit or refresh routines, white-ink circulation, automatic cleaning intervals, nozzle compensation and ink-system temperature.
Do not copy another machine's drive voltage, negative pressure, firing voltage or waveform settings.
A safer optimization is to reduce unnecessary aggressive cleaning while maintaining enough automatic refresh activity to keep rarely used channels healthy. White ink deserves particular attention because pigment settling can create supply problems long before the printhead itself fails.
Whenever firmware is changed, print and save a nozzle test before and after the adjustment.
Troubleshooting, Early Failure Signs and Maintenance Schedule
A damaged printhead usually gives warning signs before complete failure.
The most useful early indicator is not an electrical resistance measurement performed by an operator. It is a trend in nozzle behavior.
Watch for:
| Symptom | Likely Direction to Investigate |
|---|---|
| Random missing nozzles | Nozzle-face contamination, cap or wiper |
| Same nozzles repeatedly missing | Persistent clog or physical damage |
| Whole block/color disappears | Ink supply, damper, filter, air or pressure fault |
| Lines fire at an angle | Partially blocked or damaged nozzle |
| Fine horizontal banding | Nozzle loss, calibration or feed issue |
| White output gradually becomes unstable | Circulation, settling or supply problem |
| Ink around head electronics | Leakage-stop and service |
| Head strike marks | Incorrect media height or fixture movement |
| Electrical head error | Cable, board, drive electronics or head fault |
A UV printer nozzle check is therefore one of the cheapest ways to create an early-warning system. Save dated tests rather than throwing them away after every shift.
A useful preventive schedule is:
Daily: nozzle test, cap/wiper inspection, waste-ink check and printhead-clearance check.
Weekly: detailed maintenance-station cleaning, ink-line visual inspection and nozzle-trend review.
Monthly: inspect filters, fans, UV-area contamination, ink circulation and environmental records according to the machine manual.
Quarterly: review preventive replacement parts, carriage calibration, ink-system stability and technician service requirements.
Stop operator-level recovery and call technical support when the same nozzle group does not improve after approved recovery, cured material is visible, the nozzle plate is scratched or leaking, ink reaches electrical connectors, an entire channel produces an electrical fault, or repeated cleaning produces no measurable improvement.
Technician training should cover nozzle-test interpretation, safe maintenance-liquid handling, correct cap and wiper cleaning, height setup, anti-collision systems, white-ink circulation, shutdown procedures and transport locking.
Also check warranty conditions before removing a printhead, opening electronics, using third-party ink or manually flushing the head. A maintenance action that looks inexpensive can cost much more if it voids service coverage.
Protect the Printhead Before It Becomes a Repair
The most cost-effective printhead is usually the one you do not need to replace.
Build protection into the production process: verify nozzles before each shift, control print height, keep UV light away from idle heads, use only validated inks and maintenance liquids, keep the capping system healthy and stop escalating cleaning when the evidence points to an ink-supply or electrical problem.
For Dacen users who need help diagnosing a printhead problem, prepare three items before contacting support: printer model, nozzle-check photo and description of the current ink/cleaning history. These details make remote troubleshooting much faster and help determine whether the problem belongs to the printhead, ink system, maintenance station or electronics.
FAQ
What daily steps should I follow to protect a UV printer printhead?
Print a nozzle check before production, inspect the cap and wiper, confirm correct media clearance, monitor ink and pressure systems, keep UV light away from the nozzle area and make sure the carriage caps correctly at shutdown.
Which cleaning solvents are approved for common UV printheads?
There is no universal approved solvent based only on whether the head is Epson, Ricoh or Kyocera. Use the fluid approved for the exact printer, printhead and ink formulation. Some printer manufacturers, such as Mimaki, publish specific maintenance-liquid part numbers for specific ink and printer combinations.
How do I remove cured UV ink from a nozzle face?
Do not scrape the nozzle plate and do not automatically use acetone or another strong solvent. Follow the manufacturer's cured-ink or nozzle-wash procedure. If cured material remains directly on the nozzle surface after the approved process, contact technical service.
How should I store a UV printer during a long shutdown?
Use the model's long-term-storage routine. Keep the head capped and protected from light; some machines require maintenance fluid or ink-path procedures before extended storage. Do not simply unplug the printer and leave the carriage exposed.
Which inks are compatible with Epson, Ricoh and Kyocera printheads?
Compatibility depends on the exact head model. Ricoh offers heads designed for different viscosity ranges; Kyocera KJ4A is designed for UV-type higher-viscosity inks; and Epson identifies specific industrial PrecisionCore families for UV applications. Always validate the actual ink, waveform, operating temperature and cleaning chemistry.
What early signs indicate that a printhead may be failing?
Repeated missing nozzles in the same positions, increasing nozzle deflection, persistent banding, internal leakage, cross-contamination, head-strike damage and electrical channel errors are stronger warnings than an occasional recoverable nozzle dropout.
Do anti-cure caps or light shields help protect UV printheads?
Yes, when they are designed as part of the printer's maintenance and UV-shielding system. They can reduce unwanted UV exposure and drying around an idle head. However, an aftermarket cap or shield must not interfere with carriage travel, cap sealing, airflow, sensors or UV curing, so modifications should be approved by the machine manufacturer.