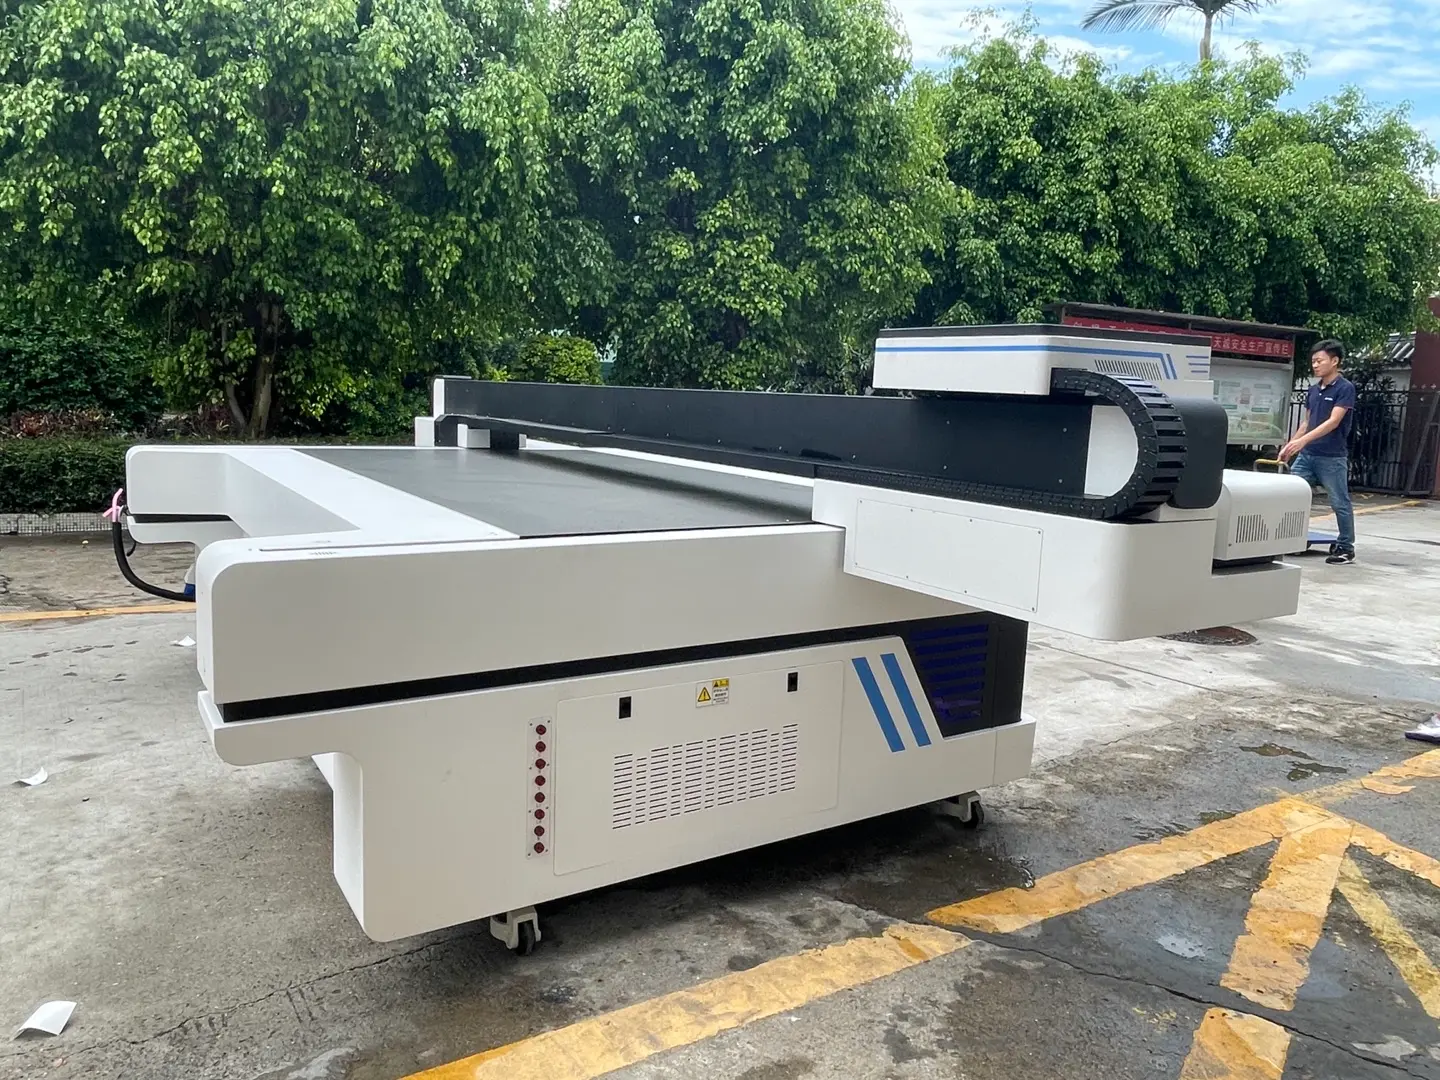
A UV printer may appear to be working normally even after the printhead develops a small firing problem. By the time banding, missing color, or unstable detail becomes obvious in a finished image, the fault may have been present for some time.
For that reason, technicians often begin troubleshooting with a simple request: print a nozzle check.
In our operator training, we recommend checking printhead status regularly instead of waiting for visible print defects. The pattern provides a clear starting point for deciding whether the printer is ready for production or needs attention. Printing the test is only the first step. You also need to know how to read it.

What is a UV printer nozzle check?
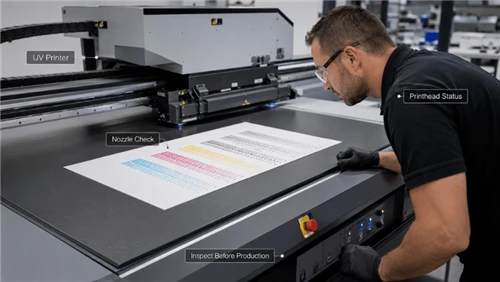
A UV printer nozzle check, also called a nozzle test or printhead test pattern, is a small diagnostic print that shows whether the printhead nozzles are firing correctly.
Unlike a photograph or production image, the test separates the output into structured lines. Missing, broken, weak, or misdirected lines are easier to spot in this format.
Direct Color Systems describes the nozzle check as a way to monitor nozzle health and find clogs or missing nozzles before they become more serious. Its UV printer guidance includes the test as part of daily maintenance.
Patterns vary among printers. The printhead model, channel configuration, ink setup, software, and printer design all affect the result, so use the pattern and acceptance criteria specified for your machine.
Why check the nozzles before production?
Waiting for a production image to look bad puts the nozzle check late in the diagnostic process. Some early firing problems are much easier to see in a test pattern than by inspecting the printhead or a finished print.
A daily check can answer three useful questions before production starts:
- Are all expected nozzle lines present?
- Has the pattern changed since the previous test?
- Is the defect isolated, repeatable, or getting worse?
An imperfect test does not automatically call for aggressive cleaning. The first goal is to identify the behavior.
Keep previous test strips or clear photos as a baseline. A defect that stays in the same position suggests something different from one that moves between tests or appears only during long production runs. These comparisons also give technical support better evidence to work from.

What does a good nozzle check look like?
A healthy test normally has a complete, consistent structure for every channel being checked, although the exact appearance depends on the printer. Direct Color Systems recommends checking for uniform lines, full coverage without gaps, and sharp edges on its UV printer test patterns.
The most reliable reference is a known-good test from the same printer. Compare it with the current pattern and look for:
Newly missing lines
Broken sections
Displaced or deflected lines
A weak color or ink channel
Defects that remain in exactly the same position across repeated tests
Do not apply the pass or fail limits of one printer model to another. The acceptable result depends on the printhead, print mode, ink configuration, and manufacturer's requirements.
How to interpret common nozzle check problems
A nozzle check rarely identifies the failed component by itself. It shows where to begin troubleshooting.
A few lines are missing
If a small number of lines disappear suddenly, first find out whether the defect repeats. A minor change may come from temporary nozzle loss, contamination around the maintenance system, incomplete capping, or another short-term firing problem.
If the manufacturer recommends it, run the normal or light cleaning procedure and print another test. Compare the results: did the pattern improve, stay exactly the same, or move? That comparison tells you more than repeatedly pressing the cleaning button.
The same lines remain missing
A fixed defect needs closer attention. If the same nozzle positions remain absent after the approved cleaning procedure, do not continue treating the problem as a temporary clog.
Possible causes include persistent contamination, poor capping performance, a maintenance-station fault, physical nozzle damage, or an electrical issue. Dacen's printhead maintenance guidance likewise recommends investigating the system instead of escalating the cleaning indefinitely when a defect remains unchanged.
At this stage, record the test and send it to technical support rather than continuing uncontrolled maintenance.
The missing lines move between tests
A changing pattern points in a different direction. If one group of nozzles disappears in one test and another group in the next, check for unstable ink delivery, air in the system, pressure fluctuations, poor capping, or intermittent firing.
Look for:
- Low-ink or ink-supply warnings
- Visible problems in the ink path
- Circulation or pressure alarms
- Faults around the capping or wiping system
Do not adjust pressure settings or disconnect ink-system parts unless the procedure is approved for that printer.
Lines are present but deflected
A nozzle can fire in the wrong direction without disappearing from the test. Deflection causes a different print-quality problem from a completely missing nozzle.
Inspect the approved maintenance areas around the printhead for contamination and consider the possibility of physical damage to the nozzle surface. Do not assume the remedy for a blocked nozzle will work for a deflected one. Rubbing the nozzle plate or applying an unapproved cleaning liquid may cause further damage, so follow the instructions for the exact printer and printhead.
An entire ink channel is weak or missing
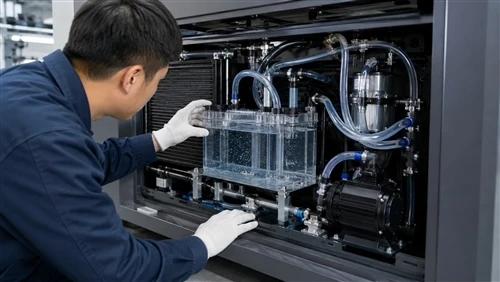
When a complete color or ink channel becomes weak, the fault may involve more than a few individual nozzles. Depending on the machine, the ink supply, filter, damper, circulation system, pressure system, electrical channel, or another shared component may need inspection.
White ink needs particular attention because its delivery and circulation design may differ from the CMYK system. The correct procedure still depends on the printer. Never change circulation, pressure, or other ink-system settings using instructions written for a different machine.

What to do after a bad nozzle check
Use a controlled sequence instead of starting with the strongest cleaning option.
1. Save the original test
Keep the test strip or take a clear photo. You will need it to judge the next result, and it can help technical support if the problem continues.
2. Classify the pattern
Determine whether you are seeing a few missing lines, fixed or changing defects, deflected lines, a weak channel, or a pattern that deteriorates during production. Each behavior points toward a different set of possible causes.
3. Run the approved basic recovery procedure
If the printer instructions call for a normal or light automatic cleaning after a small nozzle defect, use that procedure. Do not jump to the strongest mode unless the manufacturer specifically requires it.
4. Print and compare another test
The completion of a cleaning cycle does not show whether it worked. Print another nozzle check and compare it with the original.
If the pattern improves, continue with the printer's approved procedure. If it stays the same or worsens, repeating the same action may waste ink without finding the cause.
5. Check the surrounding systems
Persistent nozzle faults do not always originate in the printhead. Depending on the printer, you may need to inspect:
- The capping station and wiper
- Ink supply and tubing
- Filters or dampers
- The negative-pressure system
- White ink circulation
- The maintenance station
- Active printer alarms
Treat the nozzle check as the start of troubleshooting, not the final diagnosis.

What to avoid
Repeating strong cleaning without checking the result
Each cleaning cycle should produce useful information. Run the approved procedure, print another test, and compare the patterns. If the same positions remain missing, stop cleaning and investigate the cause.
Assuming every missing line means a damaged printhead
Missing nozzles have several possible causes. Replacing a printhead before checking the ink supply, capping system, maintenance station, and machine alarms can lead to unnecessary repair costs.
Copying another printer's cleaning procedure
UV printers differ in printheads, ink chemistry, pressure systems, capping designs, and maintenance liquids. Roland and other manufacturers publish model-specific maintenance instructions for this reason.
Touching the nozzle plate without explicit instructions
The nozzle surface is sensitive. Use only the cleaning method, contact area, tools, and fluid approved for your machine.
How often should you run a nozzle check?
Our training recommendation is to include a nozzle status test in the daily operating routine. It confirms the printhead's starting condition before a small fault affects production. Direct Color Systems also includes nozzle checks in daily maintenance for its UV printer models, while Inkcups includes them in its UV flatbed maintenance routine.
The manufacturer's instructions take priority when setting the actual frequency. Long print runs, heavy white-ink use, unusual substrates, long gaps between prints, or demanding production conditions may call for extra checks when the equipment supplier recommends them.
Some industrial printers monitor nozzles automatically. Mimaki's Nozzle Check Unit, for example, detects clogged or nonfunctioning nozzles on supported machines. A manual daily check is therefore not a universal rule for every digital printer. Use the workflow designed for your equipment.
When to contact technical support
Request technical support when operator-level checks do not explain or correct the problem. Examples include:
- The same nozzle positions remain missing after the approved recovery procedure
- The test worsens after cleaning
- A complete channel disappears
- Ink leaks or drips around the printhead
- The printer reports pressure, electrical, carriage, or ink-system alarms
- The printhead has been involved in a collision
- Print quality repeatedly deteriorates during production even though the startup test is acceptable
Give the technician more than a general description such as "the print quality is bad." Send:
- A clear photo of the current nozzle check
- Previous tests, if available
- The printer model
- Printhead and ink configurations
- Active error messages
- Any change that occurred before the fault appeared
- A list of maintenance actions already performed
This information gives technical support a much better starting point.
Use the nozzle check as a diagnostic record
A nozzle status test can reveal missing or abnormal firing before the problem is easy to see in production or through visual inspection of the printhead.
Print the test at the interval recommended for your machine, keep a reference when possible, and compare each change carefully. If the pattern does not recover after the approved operator-level procedure, inspect the surrounding ink and maintenance systems or contact technical support. Avoid escalating the cleaning simply because the pattern is imperfect.
Finding a small fault early is more useful than discovering it after print quality has become unacceptable.
On this page
- What is a UV printer nozzle check?
- Why check the nozzles before production?
- What does a good nozzle check look like?
- How to interpret common nozzle check problems
- What to do after a bad nozzle check
- What to avoid
- How often should you run a nozzle check?
- When to contact technical support
- Use the nozzle check as a diagnostic record